RV Kitchen Faucet Spout Came Off: 8 Must-Try Steps To Fix It!
Inside your Recreational Vehicle, there is no chance to overlook the necessity of a kitchen faucet. Why? Because it helps you go through all the tasks regarding cooking and washing something. So if you notice the spout is coming off, it’s necessary to know why it happened and how to fix it.
Poor cartridge, broken valve seat, and damaged O-rings can cause your kitchen faucet spout came off. So replacement is the only solution, where you can take off the spout to eliminate the worn-out part. Afterward, attach a new one and re-install the spout.
If you are someone who hasn’t faced such an annoying situation before, it is a must to go through all the steps carefully. So sight tight, and let’s dig deeper!
Why My Kitchen Faucet Spout Came Off?
Over time, kitchen faucet spout tends to lose efficacy and stability, which is what we need to accept. However, if it has lost its efficiency way earlier than usual, then there might be something wrong you’ve done with your kitchen faucet spout.
But besides your faults, there can be a couple of other reasons why your kitchen faucet spout has come off. These are as follows:
1. Fragile Cartridges
A cartridge-style kitchen faucet is known to be pretty common with dual-handle models. Basically, it’s a piece of valve noticeable on each handle designed to control the overall water flow into the spout.
When it becomes weaker, your faucet will start dripping water constantly, and the spout comes off eventually.
2. Broken Valve Seat
That’s what you may also notice while finding the core reasons behind faucet leakage. The valve seat plays a crucial role in connecting the spout to the faucet.
As a result, the spout will start coming off gradually in case it gets broken or seriously damaged.
Read Also: Do I Need A Surge Protector For My RV? (Explained)
3. Worn-out O-Rings
Just like the valve seat, the location of the O-rings is right into your kitchen faucet. It works as a stabilizer by keeping the faucet attached to the handle strongly.
So it’s pretty common for the spout to come off when the rings get excessively loose or worn out.
4. Pressurizing the Spout
Believe it or not, many of us ruin our kitchen faucets by over-pressurizing the handle. As the spout is known to be flexible and easily movable from left to right, most people have a tendency to move it frequently, and that too with lots of extra pressure.
That’s how the spout loses its stiffness over a period of time and starts coming off!
Read Also: Why RV Antenna Won’t Crank Up: Reasons & Solutions!
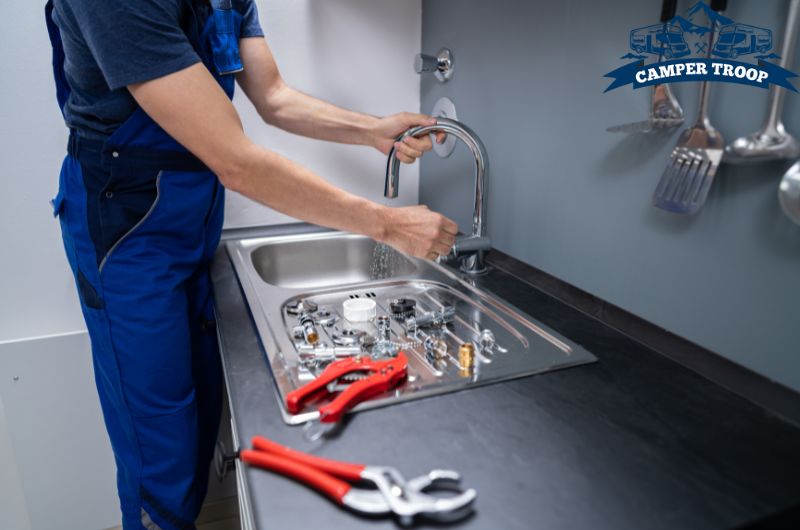
How to Fix Kitchen Faucet Spout Came Off Issue: Step-by-Step Instructions
Now that you have a clear idea of the reasons, let me teach you how to fix the “kitchen faucet spout came off issue.”
For that, you’ll have to collect the following tools and then start step by step.
Tools Needed:
- Regular Wrench
- Screwdriver
- Vinegar (Optional)
- Strainer (Optional)
- New O-rings
Step-1: Switching Off the Water Supply
Without jumping into the removal steps, you must turn the water supply off. This might be located in the basement, indoors, or close to the main water meter.
Step-2: Switching On the Faucet
Have you shut down the main water supply? If so, then your next duty is to turn the faucet on. By doing so, you’re allowing the water flow to get out of the faucet right away.
In fact, it assists in relieving the existing water pressure, so there won’t be any build-up pressure during the removal steps.
Step-3: Covering the Sink Hole
The kitchen sink of my RV had no strainer. As a result, I find it safe to cover up the hole using an additional strainer. Don’t take it funny because any small parts can get into it during the removal steps!
So chances are the draining system may get clogged, which can be another bummer! So, to keep yourself out of the hassles, make sure to keep the strainer over the hole.
But it’s common for you not to have a specific strainer. In such a case, I’d prefer to cover the hole with a piece of small towel or rag.
Step-4: Cleaning Up the Faucet Parts
Although the step is optional, I’d recommend cleaning every part of the faucet, if possible. This is because you may notice the undesired buildup of minerals on a couple of parts.
So, soaking them under the vinegar for several minutes is a good idea to eliminate minerals as much as possible. Afterward, get your hands on a microfiber cloth to scrub off them right away.
Feel free to take assistance from a piece of screwdriver to cast debris away from the stubborn parts of the faucet. Be aware of providing less pressure to avoid potential damages.
Read Also: How to Replace Rubber Seal on a Propane Tank? (Detailed Guide)
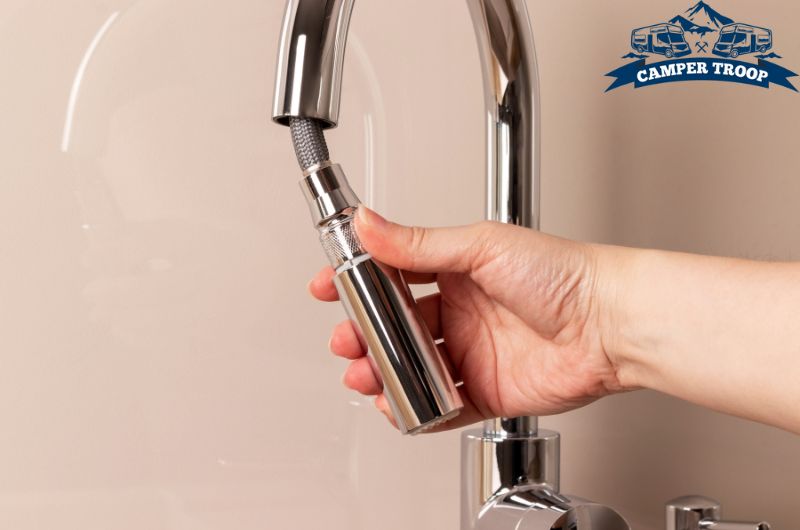
Step-5: Taking Off the Spout Cap
Here is where you need to take assistance from a wrench. By using it, you’ll be able to rotate the spout cap anticlockwise in terms of loosening it.
In order to expose it completely, pull the spout as gently as possible and take it off.
Step-6: Replacing the Old O-Rings
Note that most of the spout issue occurs for worn-out O-rings. In that case, once you remove the spout from the faucet, you’ll notice rings have completely ruined or jammed.
So replacement would be the only way to go, where you need to re-attach the new O-rings by eliminating the old one. To do so, you can take assistance from a screwdriver if you really want.
Step-7: Re-installing the Kitchen Spout
After attaching the O-rings successfully, it’s time to re-install by placing back the spout into the faucet. Push it firmly towards it so that it can get strongly attached like before.
After that, rotate the cap counterclockwise by using your left hand. Take assistance from the right hand to hold the spout in place during the rotation. Now, I guess the spout won’t come off.
Step-8: Switching On the Water Supply
The title says it all! Turn on the water supply and the faucet to see whether the water is leaking or not. If not, pat yourself on the back as you’ve completely solved the “kitchen faucet spout came off” issue!
Expert’s Advice: Sometimes, the problem with kitchen faucet spout came off may occur due to broken valve seats and poor cartridges. And that’s your case, then all you need is to replace them ASAP instead of the O-rings following the similar step-by-step instructions.
Read Also: How to Fix an RV Faucet That Won’t Turn Off? (6 Easy Steps)
Frequently Asked Questions
Are there any more questions knocking on your mind? Well, let me answer some frequently asked questions about the kitchen faucet spout. See whether they match yours or not –
What to do with a loose kitchen faucet spout if it has slightly come off?
Tightening the kitchen spout is the only way to eliminate the kitchen spout come-off issue. For that, you can simply use a wrench to make the spout cap a little tighter.
This technique works, only when there is nothing wrong with valves and O-rings.
Can I use an Allen wrench to fix issues with the kitchen faucet spout coming off?
Allen wrench plays a significant role in removing the handle from the faucet. In contrast, it doesn’t make a good deal with the spout cap, which is why you should avoid using it.
Instead, take help from a regular wrench to get the work done.
Is it a must to use vinegar in terms of cleaning the kitchen faucet spout parts?
No, there is no strictness about using vinegar to clean up the essential parts of the kitchen faucet spout (e.g. nuts, bolts, and rings). That said, it is preferable using it to eliminate mineral buildup.
Wrapping Up!
Have you tried all the steps mentioned above yet are unable to solve the kitchen faucet spout came-off issue? If yes, then you must consult a professional plumber so that he can deal with it in the best way possible. Because the problem can be anywhere else.
But in contrast, have you noticed the issue with the seat valves, cartridge, or O-rings? Then I can rest assured that my above-written steps will be more than enough to get the work done.
Before O-rings adjustment, make sure to get familiar with their size in order that it can match your kitchen faucet spout perfectly.
Read Also: Where Can I Find My RV Paint Code Location (Answered)

Zayan is an accomplished author and a go-to expert for all things RV and camper-related. With a passion for adventure and a knack for problem-solving, he has spent years exploring the open road and fine-tuning his knowledge of recreational vehicles.
Zayan’s writing is a testament to his expertise, offering readers practical solutions to common RV dilemmas. Whether it’s troubleshooting mechanical issues, optimizing space, or planning the perfect road trip, Zayan’s insightful advice and engaging storytelling make him an invaluable resource for both seasoned travelers and newcomers to the world of RVing.