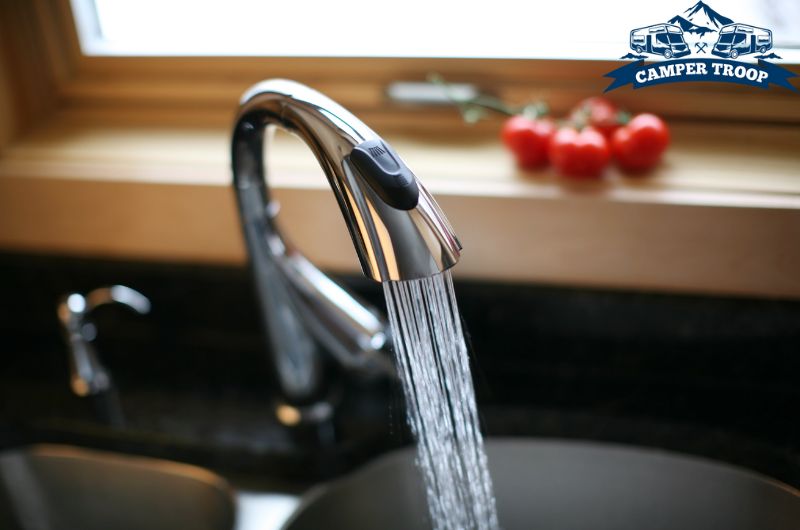
How to Fix an RV Faucet That Won’t Turn Off? (6 Easy Steps)
As a full-time RVer for years, I’ve experienced multiple times that my RV faucet would not shut off. This issue can result from broken parts, leaks, clogs, and such causing serious headaches as water will continue to flow until it’s repaired.
So, what do you do when your RV faucet won’t turn off? You should start by inspecting any leaks and broken parts to see if a sealant will fix them. But if the washer, cartridge, or valve seat is damaged, you’ll have to replace them. And if the problem is beyond your expertise, you can always turn to professionals.
Here, I will walk you through the necessary steps in more detail to help you identify and resolve the issue as needed.
What Causes an RV Faucet to Not Turn Off?
RV faucets are designed to be robust and long-lasting but can still experience problems due to wear and tear, especially when you’re on the road constantly. Some common causes of a faucet that won’t turn off include:
- Broken Parts – The washer, O-ring, and valve seat can all become worn out and may need to be replaced.
- Water Pressure – When the water pressure in your faucet is too high, it can cause the valves to stick open, resulting in the faucet not turning off.
- Mineral Build-up – Hard water buildup inside the faucet may result in a stuck valve, causing the water to stay on.
- Clogs – Sediment or debris can get caught in the faucet and jam the handle, restricting its controller.
- Leaks – A worn-out sealant or cracked pipe can cause a leak that may create additional pressure buildup.
Read Also: Why RV Antenna Won’t Crank Up: Reasons & Solutions!
6 Steps to Fix an RV Faucet That Won’t Turn Off:
Fixing your RV faucet becomes less hassle when you know exactly what to do. So, if you think you can be your own repairman, here are the steps you’ll need to take:
Step 1: Deactivate the Water Supply
The first step to fixing an RV faucet that won’t shut off is to turn off the water supply. After all, you don’t want to work on a faucet that’s still running.
Generally, you should find the shutoff valves under the sink. Or, you can deactivate the water supply from your RV’s back or side panel.
Step 2: Take the Faucet Apart
Once the water supply is deactivated, go ahead and unscrew the faucet from the sink by removing its mounting nuts. A standard screwdriver works for me to disassemble the handle, and I always use a pipe wrench to take the lug nuts off the faucet body.
Step 3: Take Off the Valve Stem
The inner valve stem or cartridge will be visible once you remove the faucet handle. It must be removed as well.
My RV’s got an unscrewable brass stem for the compression faucet. But cartridge faucets are easily removed when you pull them out. You can find instructions online or in the faucet manual for your model if you need assistance.
Read Also: How to Replace Rubber Seal on a Propane Tank? (Detailed Guide)
Step 4: Inspect for Leaks, Broken Parts, and Clogs
Once you’ve disassembled the faucet, check for leaks, broken parts, and clogs. I often notice mineral build-ups on the valve, clogging it and keeping it stuck when water is turned on, but white vinegar always helps me get rid of them quickly.
If you find any cracks or traces of breaks, try to repair them with a sealant. I like to use silicone-based sealants like Loctite for these repairs as they’re flexible and waterproof.
Step 5: Replace the Broken Parts
If the washer, O-ring, or valve seat is worn out or broken, you will need to replace them. You can find these replacement parts at any hardware store. It is easier to find suitable substitutes if you take the damaged part with you; that way, you can compare sizes and find the right part.
Step 6: Put Everything Back Together
Once you’ve found suitable replacement parts, it’s time to reassemble the faucet. Start by screwing in the mounting nuts and handle, attach the new valve stem or cartridge, and turn on the water supply to test your work.
Read Also: RV Kitchen Faucet Spout Came Off: 8 Must-Try Steps To Fix It!
When to Seek Professional Help to Fix Your RV Faucet That Won’t Stop?
If you encounter issues you don’t feel comfortable tackling on your own, it’s best to seek professional help.
Plumbers have the experience and skills to quickly address and repair major problems like water pressure problems, tank drain valve malfunctions, or critical plumbing clogs that you may be unable to identify.
In particular, if water keeps dripping even after replacing the broken parts, a professional plumber can help you adjust the water pressure or replace the entire faucet if necessary.
And if you decide to go this route, make sure to find an experienced licensed plumber familiar with RV plumbing systems.
Read Also: Where Can I Find My RV Paint Code Location (Answered)
Frequently Asked Questions
Below, I have answered some common questions concerning RV faucets not turning off.
What can cause a faucet to stick?
A faucet can stick due to mineral build-up, corroded parts, or worn-out washer/O-ring. In particular, if the valve seat is misaligned or damaged due to these issues, they can cause a faucet to stick or not turn off.
How do you fix a stuck water valve under the RV’s sink?
You can lubricate the valve with silicone-based grease or penetrating oil if the valve is stuck. If that doesn’t work, you may need to replace it with a new valve. With the right tools, the process can be completed without professional assistance.
Can I replace a damaged RV faucet with a standard sink faucet?
Yes, you can. However, it might require additional work, like getting an adapter or cutting a new hole in the countertop. Besides, most standard sink faucets are unsuitable for RV use and may damage your water system or leak. So, it’s best to consult with a professional plumber beforehand.
What to do when my RV’s frost-free faucet doesn’t shut off?
If you have a frost-free faucet, check the vacuum breaker to see if it’s blocked. You can use a metal wire or wire brush to remove any debris lodged in the vacuum breaker. If it’s still not working, you will need to replace the entire faucet with a new one.
How much does it cost to fix an RV faucet?
Based on the issue’s complexity and whether you need to replace parts or hire a professional plumber. Generally, simple repairs, like replacing washers and O-rings, should cost less than $50 if you do it yourself. But a plumber can charge more than $100 for a complete replacement.
Conclusion
A stuck RV faucet isn’t the end of the world. Following the steps above, you can troubleshoot for the cause and make necessary repairs to get your faucet back in working order.
With the right tools and patience, you can fix your faucet issue without spending a fortune. However, there may be instances where you’ll have to call out an expert to help with more expensive parts.
In any case, it’s always best to know your limits and seek professional help when needed. That way, you can avoid costly mistakes and keep your RV in tip-top shape.
Read Also: 5 Common Problems with Freightliner M2 Bulkhead Module?

Zayan is an accomplished author and a go-to expert for all things RV and camper-related. With a passion for adventure and a knack for problem-solving, he has spent years exploring the open road and fine-tuning his knowledge of recreational vehicles.
Zayan’s writing is a testament to his expertise, offering readers practical solutions to common RV dilemmas. Whether it’s troubleshooting mechanical issues, optimizing space, or planning the perfect road trip, Zayan’s insightful advice and engaging storytelling make him an invaluable resource for both seasoned travelers and newcomers to the world of RVing.