How to Replace an RV Shower Pan? [Step By Step Process]
There’s no denying that the shower facility while traveling is much more than amazing. For instance, RV is offering that feature at its greatest. But sometimes over time or for upgrading, we have to become confused about how to replace the RV shower pan.
That’s why I typically spend several hours on this project to get to know all about it and the ways are a great success. That’s why I’m going to show you all the ways to replace the shower pan to make you free from the searching hassle.
Choosing The Right Shower Pan For Your RV
Choosing a new shower pan may be the first challenge while replacing the RV shower pan.
As there are types of showers pans available on the market, it is better to get to know them before buying. Thus, you can help yourself to get confused in the market.
Acrylic: The acrylic sheet is known for its durability. This type of shower pan is easy to maintain & it needs fewer repairs. But when you have to repair it, it’ll be a little bit costly.
Fiberglass: If you’re in search of a cheap shower pan, fiberglass is the option for you. But this fiberglass shower pan is susceptible to damage & you may need to replace it sooner.
Custom Tile: Custom tile has its best for its upscale look. But it’s hard to clean & always has a wear outlook. It also requires higher expenses for materials & labor.
Ceramics: Ceramic-made shower pans have an elegant appearance with a classic style. But it also has its own headache for being heavy and relatively fragile. Also, it is difficult to measure while DIY.
Steel: A shower pan of steel is easy to clean as well as hygienic. Also, it comes in various colors. But for its installation, it requires professional craftsmanship.
Composite: As the composite shower pan is made up of a combination of different materials, it creates the shower pan quality far more than the others described above. For its finest materials & durable finishes, it’s one of the great choices for the users.
Read Also: How To Open A Pop-Up Camper Without A Crank? (Helpful Guide)
Steps For The RV Shower Pan Replacement:
Replacing the RV shower pan was not a big deal to sort out. Thankfully, my hardship in searching isn’t in vain. That’s why I’m going to share all these easy steps that may inspire you to do it with your hands.
Step 1: Turn off Water Supply
All you need to do first is to turn off the water supply of your van. Remove the city water hose and also the 12V water pump so that it doesn’t feel depressurizing to intervene in your work.
Step 2: Remove the Shower Access Panel & Drain Pipes
Now remove the access panel of your shower. It’s a thing through which the shower is fitted. It’ll look like a round plate or square panel. Disconnect the vacuum breaker, and drain pipe & the pipes assemble with the faucet.
Step 3: Remove the Accessories
Remove all the surrounding accessories of your shower including shelves, curtains, or mirrors.
Step 4: Take Out Shower Walls
At this time take out the shower wall of your RV. While removing the walls there may be decorating trims that hold the wall into place. Ensure not to damage the RV pipework.
Read Also: Manual Trailer Jack Won’t Go Up or Down: How to Repair It?
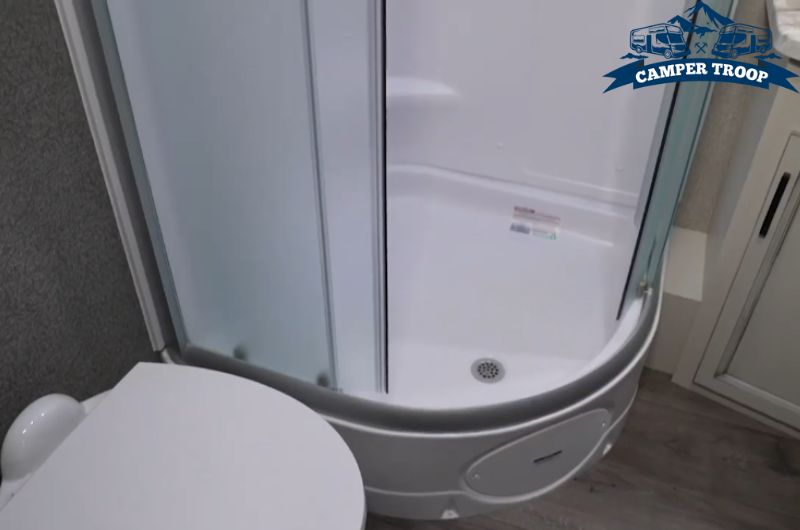
Step 5: Lift Out the Old Shower Pan
Now all things are done. Just remove the old, bad, or cracked shower pan of your RV. If your RV has adhesive pads under the shower pan, take good care of it.
Step 6: Get the Right Sized New Shower Pan
I think getting the right size as well as a quality product is the hardest challenge.
As I’ve already mentioned above, there are different types of the shower pan. Choose one according to your preference. I personally like composite shower pans in terms of durability & DIY friendliness.
Step 7: Installation
Install the new shower pan in your RV according to the provided manual of your new shower pan.
It’ll be a great help for the success of the job as well as lessen the future hassles.
Step 8: Caulk the Edges
If your RV is needed, caulk the edges of your new shower pan. Now decorate your RV shower according to your own choice.
Read Also: How to Reset Power Outlet Without Reset Button?
How Much It’ll Cost To Replace The RV Shower Pan?
At this point, the question remains about the cost of the task. Replacing the shower will cost you an average of $900 to $2300. It varies in size, type, material, tools, or labor.
In case you don’t want to take the hassle of replacing, the labor cost will be about $45-$150.
Read Also: Where Is the Air Governor Located & How Does it Work?
Frequently Asked Questions
I know, there still may be some confusion left about the topic we’re discussing.
Think about it, I’m going to highlight mostly searched queries of our dear readers.
What do I put under my new shower pan in the RV?
Most manufacturers recommend installing a bed or mortar under your shower pan. Moreover, it provides a hard floor for the shower as well as protects the subfloor from water damage and rot.
Can I use a thinset for a shower pan for the RV?
You can use any polymer-modified thin-set to install a shower pan in your RV. You can use it either for a wood floor or for a concrete slab.
Should I screw the shower pan to the studs?
To answer in one word, it’s a yes. You should connect the shower base to the wall studs. It’s a part of the installation.
Should you silicone the shower base?
In the shower of your RV, it’s necessary to place flexible silicone sealant. It’ll help to minimize the pressure of your RV shower.
Wrapping Thoughts
After reading the whole discussion I’ve got confidence that you’re no more in a confusion about how to replace RV shower pan. In this article, I’ve tried all the factors brought to highlight.
Over time the RV shower pan may crack or you may want to upgrade your shower. While replacing the shower pan, follow the instructions carefully although it’s not a hard task. Still, if you don’t take the hassle, just call the plumber. They’ll get the job done in just one or two hours.
That’s all! Lots of luck!
Read Also: Hot and Neutral Reversed But Wired Correctly: How to Fix It?

Zayan is an accomplished author and a go-to expert for all things RV and camper-related. With a passion for adventure and a knack for problem-solving, he has spent years exploring the open road and fine-tuning his knowledge of recreational vehicles.
Zayan’s writing is a testament to his expertise, offering readers practical solutions to common RV dilemmas. Whether it’s troubleshooting mechanical issues, optimizing space, or planning the perfect road trip, Zayan’s insightful advice and engaging storytelling make him an invaluable resource for both seasoned travelers and newcomers to the world of RVing.