
Why Your RV Oven Pilot Won’t Light and What to Do About It?
As a veteran RV owner, I know how frustrating it can be when your RV oven doesn’t even light the pilot light. It feels like you’re stranded in the middle of nowhere with no way to cook dinner. But don’t worry – you can get your oven back up and running in no time.
But why your RV oven pilot won’t light in the first place? Most often, it’s a lack of gas supply, but build-ups around the flame assembly and blocked openings may also be to blame. And often, simply holding the igniter, reassembling the flame, or cleaning out the oven may solve this problem.
Let’s learn about these solutions in more detail to get your RV oven working again in no time.
How to Fix a Pilot Light That Won’t Light on RV Ovens?
Throughout my years of RV-ing around the country, I’ve encountered many oven issues that have left me scratching my head. While the pilot light not lighting was often among them, I got my oven running again with a few tried and true methods. Here are a few.
1. Check the Gas Supply
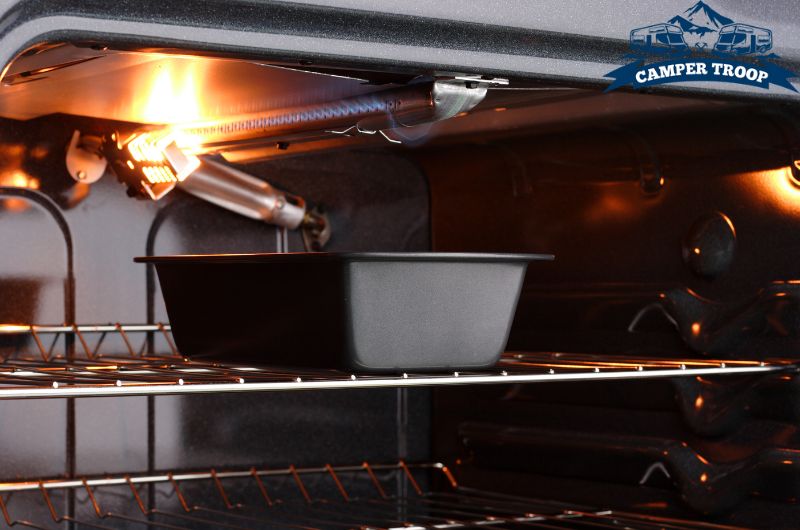
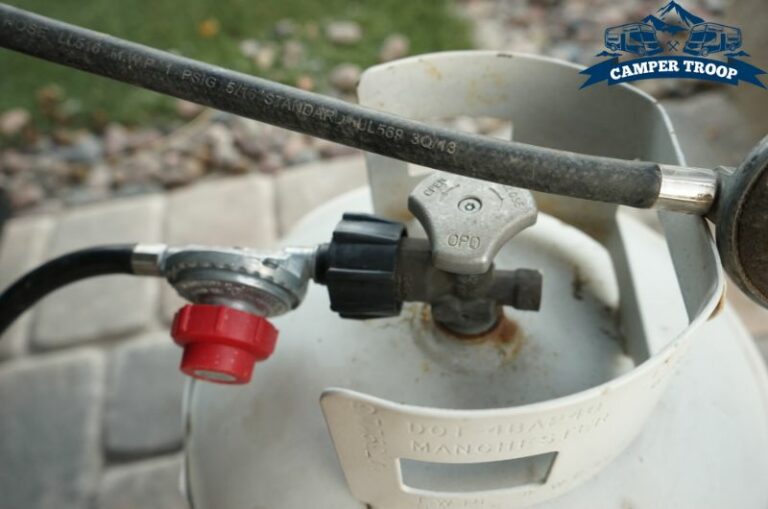
RV ovens use propane gas for their flame assembly and pilot light and need a steady supply of propane to stay lit. So, if your RV oven pilot won’t light, then the first thing you should do is check that the propane tank is full.
You can check the gas supply by turning on the oven’s gas control knob and watching to see if you see any sign of gas. If it’s full, then the gas connection may be blocked or faulty.
In this case, you can try to unblock and check your RV’s gas components. I’ve seen leaks and blockages in the regulator and hoses causing this issue. So, if you find any, replace them before relaying the pilot light.
Read Also: Complete Guide on How to Jack Up a Travel Trailer in 4 Steps
2. Clean Out the Oven
Often, dirt and debris can build up around your RV oven’s flame assembly. I’ve seen greasy build-ups, dust, and even food crumbs caked into the flame’s opening. Because of this, the pilot light won’t ignite as it can’t get enough oxygen.
So if it’s been a while since you cleaned your oven, then this might be why it won’t stay lit. You can check the flame assembly opening for build-ups and clean them with a damp cloth.
3. Hold the Igniter Down
In my earlier days, I didn’t realize how little time I allowed the oven to ignite; instead, I worried about letting in too much gas. But giving the pilot flame enough time to ignite is crucial to keep it lit for a proper start-up, and holding the igniter can help you do just that.
I’ve found that holding down the igniter for 10-15 seconds can help your RV oven pilot stay lit more consistently. So remember to hold the igniter down for a few seconds before releasing it if your RV oven’s pilot light won’t light or keeps going out.
4. Adjust the Size of the Pilot Flame
The size of the pilot flame is essential to keep it burning consistently. A tiny flame can’t get enough oxygen, leading to extinguished pilot lights. On the other hand, too large of a flame can cause overheating or even an explosion in some cases.
So, you should adjust the flame size to ensure it burns efficiently. Adjusting the flame size is easy; just use a small screwdriver to adjust the flame control valve. You can move it clockwise to increase the flame size or counter-clockwise to reduce it.
Read Also: What Is Fullway Termination Valve: And Where Is It Located?
5. Check for Air in the Gas Line
Sometimes, an RV oven will not light due to air in the gas line. This can happen if you just recently opened your propane tank and the gas line needed to be purged of air. In my case, the gas line often has air because of the time I spend in high-altitude areas.
You can check for air in the gas line by trying to light the pilot flame several times. If the flame dies out immediately each time you light it, you likely have air in the gas line.
I fix this issue by allowing propane to disperse from a stovetop burner. As the oven and the burner lines are joined, air must be vented. The best thing to do is open a few windows, activate the stove exhaust fan, and try to avoid sparks and flames during this time.
6. Unclog the Tiny Openings
There should be a tiny orifice in the gas line leading to your oven for supplying gas to the thermocouple through the line directly. The tiny hole may get clogged easily, reducing or preventing gas flow.
You can unclog this opening easily with a needle, toothpick, or thin wire. For a thorough clean-up, I like to unscrew the entire tip and soak it in a solvent. Also, you may need to replace it if it’s hardened with debris or damaged beyond repair.
7. Check the Thermocouple
If nothing works, the last possible fix is to change your RV oven’s thermocouple. This component regulates and monitors the pilot flame. So, if your thermocouple fails, it will prevent the pilot flame from coming on or staying lit.
As the thermocouple heats up, signals the gas to flow through the valve.
However, the gas cannot flow if the thermocouple cannot detect the heat. The pilot light won’t stay lit if the thermocouple spacing is too large.
You can check the thermocouple’s functionality by lighting the pilot flame and turning off the oven. If it goes out, the thermocouple is most likely the problem. To fix this, you can either buy a new thermocouple or get it serviced by a professional.
Read Also: When To Use The Check Valve, Before Or After Pump? Find Out!
How to Light an RV Oven Manually?
If you want to get your cooking done before fixing the oven’s pilot light, you might want to light your oven manually. This is a quick and easy process that doesn’t require any tools.
- First, open the oven door and point a long lighter inside.
- Then, open the valve on the oven’s gas line and wait for the gas to fill the oven.
- Light the oven with a long-handled lighter when enough gas has accumulated, and leave it on for 30 seconds.
- Next, turn off the valve to stop the gas flow and close the oven door.
You can now use your RV oven manually until you get it fixed.
Read Also: How to Light a Suburban RV Oven? (Things You Need to Know)
Conclusion
Oven pilot lights often go out when you need them most. As you can see, there are several reasons why this might occur. But, if you follow the tips I shared, this isn’t usually a difficult fix.
All you need is the right know-how in the right situation to get your oven working again. On a final note, be careful if you’re going to open up the oven to check the internal components.
You’re dealing with gas, so be sure not to accidentally light yourself on fire while trying to light the pilot. I’d recommend that before you try anything, turn off the gas supply first.
Read Also: Why Maxxair Fan Buttons Not Working: How to Resolve it?

Zayan is an accomplished author and a go-to expert for all things RV and camper-related. With a passion for adventure and a knack for problem-solving, he has spent years exploring the open road and fine-tuning his knowledge of recreational vehicles.
Zayan’s writing is a testament to his expertise, offering readers practical solutions to common RV dilemmas. Whether it’s troubleshooting mechanical issues, optimizing space, or planning the perfect road trip, Zayan’s insightful advice and engaging storytelling make him an invaluable resource for both seasoned travelers and newcomers to the world of RVing.
![Why Is The Forest River Furnace Not Working?[With Solutions]](https://campertroop.com/wp-content/uploads/2022/12/Forest-River-Furnace-Not-Working-768x509.jpg)
![HWH Leveling System Troubleshooting [Things You Should Know]](https://campertroop.com/wp-content/uploads/2023/01/HWH-Leveling-System-Troubleshooting-768x509.jpg)