Forest River Slide Out Seals: Types & Replacement Guideline
What if your Forest River slide-out seals come off way earlier than usual? Cracks and loose seals are the two signs of slide-out seals. I ended up with the same complication a few days back. After that, I started researching to find a permanent solution. And guess what? Replacement is the only way to go!
How to replace forest river slide out seals? First, you’ll need to collect some essential tools. And then, remove the old slide-out seals using a plastic scraper. Lastly, install the new seals by gluing and fastening the vertical piece to the top pieces.
For a better understanding, I’d like to share the detailed steps I followed to turn the task as easy as falling off a log! So let’s get started.
Types of Seals Used in the Car
The list of the types of seals isn’t comprehensive! However, if you get your hands on the wrong one for your RV, chances are the seal will come out, even after attaching it through the strongest adhesive in the world!
So let me share the name of some common types of seals used in the car and RVs:
- O-Rings: Mostly constructed with elastomeric material, O-rings are known to be flexible and pretty much durable to work with machinery tools. Furthermore, carpenters tend to use them for automotive leakage prevention once in a while.
- Lip Seals: Lip seals are liable to offer seals from precluded dirt, grease, and such objects. Thus, I personally find it better for not only cars but also reversible motors.
- Lathe-Cut: In general, this kind of seal consists of rubber tubing, offering a relatively wider surface than O-rings for being flexible.
Alongside the automotive, lathe-cut can be your ultimate choice for sealing industrial components.
- Slide-out Seals: Last but certainly not least, slide-out seals are considered one of the prime go-to choices to seal Keystone, Forest River, and such top-notch recreational vehicles.
Being manufactured with EPDM rubber will ensure optimal resistance against weather, including wearing and tearing.
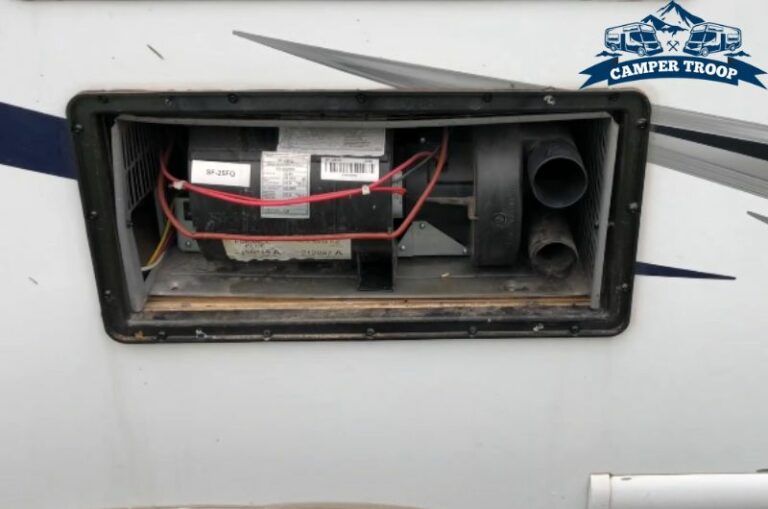
Read Also: How to Find Water Pump Location on Your Forest River RV?
How to Replace Forest River Slide-Out Seals: Step-by-Step Guideline
Replacing the slide-out seals of your Forest River is the only solution if they end up with cracks or almost damage. But you just can’t jump right into the steps, as you’ll require to collect some specific tools.
Let’s check out what I collected to get the work done:
Tools Needed:
- Slide-out seals
- Plastic scrapers
- Adhesive remover
- A top-class cleaner
- Gloves
- Adhesive
- Scissors
Once you’ve collected the same tools mentioned above, it’s time to move one step forward to learn how to replace forest river slide out seals:
Step-1: Measuring the New Seal
It won’t be a wise idea to pick any of the random seals without even measuring them. Instead, taking the proper measurement is the key to getting it compatible with your Forest River. That’s what I did as well!
Once the correct dimension is on your hands, make sure to order the perfect-sized slide-out seals that match your recreational vehicle. Thus, you won’t end up with any shortages.
Step-2: Eliminating the Old Seal
Over time, the seal of your Forest River RV tends to lose its adhesiveness. If I talk about myself, I found my RV’s seals with almost zero adhesives being too fragile.
With that being said, you may also find it affixed to the surface. Only then, take assistance from a plastic scraper in terms of taking off the old seals. Feel free to remove it as much as required.
But while doing this, ensure that none of the tools aren’t ruining the paint of your RV.
Step-3: Cleaning Up the Surface
Now, you need to take help from a high-quality cleaner in terms of getting the surface spick-and-span. I’d say it’s absolutely okay not to eliminate all the adhesives from that spot.
And note that I didn’t hesitate to take the expert’s help taking off the slide-out topper. If you are not that confident about doing this, let it be performed by a professional to avoid risks!
Step-4: Incorporating the New Seal
Here comes the real action! I slightly pushed the new seal on the pinch weld towards the slide-out seal in terms of the installation.
If you pay attention to the pinch weld, you can see it consists of a raised corner. And here, your new seal is able to get locked after pushing in.
I’d prefer using a decent plastic tool that will aid in pushing the seal. But you must avoid offering excess pressure that may damage the quality of the new seal.
Read Also: How to Find Fuse Panel Location on Your Forest River RV?
Step-5: Using the Adhesive
Although it’s not a must to incorporate extra adhesive, I didn’t find it wrong for me because my old slide-out seal had almost zero adhesive left. And yes, adding additional adhesive can confirm fastening the slide-out to the seals.
Before you get your hands on an adhesive, make sure it’s compatible with the rubber slide-out seals.
Step-6: Trimming/Cutting the Wiper
For proper installation, the top and edges of the seal are known to be crucial parts. Ask why? This is because these parts often get tortured by rain and turn the seal weaker or damaged eventually.
After going around the edges, pay attention to find out the seal’s wiper section. In order to fit around the edges perfectly with the new seal, I’d suggest cutting the wiper at a certain point.
Overlapping the top to the vertical part of the wiper will be possible if you try to do so. Now, you’re just a step away from wrapping up the crucial steps!
Step-7: Giving a Finishing Touch
Now that you’ve successfully cut the wiper, let’s get that overlap to work by applying a little amount of adhesive. Thus, you can fasten the vertical piece to the top pieces in the best way possible!
Once you’re done, wait for a couple of hours to make sure the new seal has been attached to the surface of your recreational vehicle. Feel free to repeat the same process for the opposite side of your RV.
Read Also: Forest River Battery Disconnect Switch Location and Purpose
Frequently Asked Questions
Are you waiting to learn more about forest river slide-out seals? Check out the queries I’ve added right here to let you get to know more about its efficacy:
Why do Forest River RV slide-out seals come out?
Over time, the seals of your Forest River RV tend to get fragile due to dust build-up and moisture. In this way, it starts coming out in a gradual way by losing all of its remaining adhesiveness.
How much should I spend for the forest river slide out seal replacement?
You should have a preparation about spending 1000 dollars + for a slide-out seal replacement, excluding the labor cost.
But if you can do it yourself following my above-written steps, then you won’t have to pay top dollar for the labor charge.
What is the best way to maintain my Forest River slide-out seals?
In order to prevent the seals from premature decaying, I find it safe to use a silicone spray once a minimum of every 7-8 weeks. This is how you can also maintain your RV seals to prevent potential cracks and damage.
How often should I apply lubricant to my forest river slide-out seals?
If possible, apply a decent amount of lubricant to the slide-out seals 2x per year.
Even though some experts recommend applying three times a year, I personally observed that two times is more than enough for optimal flexibility and longevity.
Read Also: Forest River Water Pump Not Working: Reasons And Solutions
Wrapping Up!
Issues with the Forest River slide-out seals aren’t uncommon. Still, I’ve seen many people panicking for not having proper knowledge of the replacement process.
Make sure you collect all the necessary tools and gear before you get into the real action. And don’t neglect the necessity of having a top-class liquid super glue.
Because this will aid in keeping the seals strongly attached to the surface of your recreational vehicle. And yes, measuring the seals is equally necessary so that you won’t have to end up with shortage issues after ordering slide-out seals.
What’s more? I’d always prefer wearing safety gloves before applying adhesive or glue. This is how you can keep your hands from getting sticky.
Read Also: Why Is The Forest River Furnace Not Working?[With Solutions]

Zayan is an accomplished author and a go-to expert for all things RV and camper-related. With a passion for adventure and a knack for problem-solving, he has spent years exploring the open road and fine-tuning his knowledge of recreational vehicles.
Zayan’s writing is a testament to his expertise, offering readers practical solutions to common RV dilemmas. Whether it’s troubleshooting mechanical issues, optimizing space, or planning the perfect road trip, Zayan’s insightful advice and engaging storytelling make him an invaluable resource for both seasoned travelers and newcomers to the world of RVing.
![How to Replace an RV Shower Pan? [Step By Step Process]](https://campertroop.com/wp-content/uploads/2023/01/How-to-Replace-an-RV-Shower-Pan-768x509.jpg)