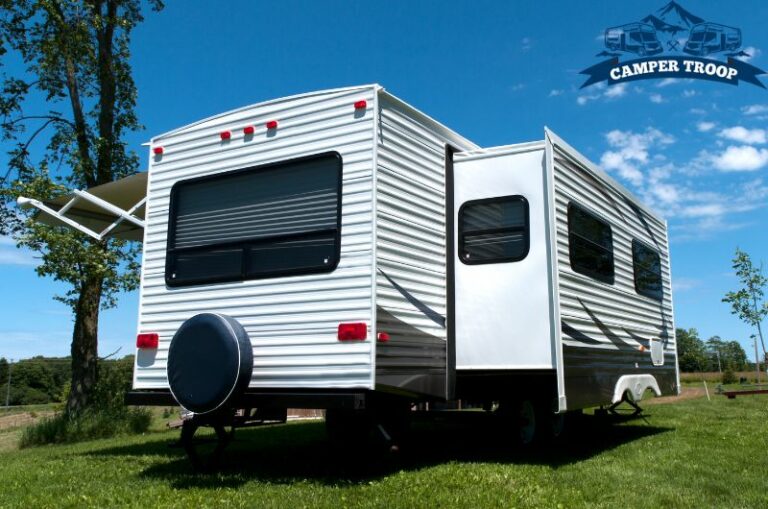
How to Winterize an RV Ice Maker? Step-by-step Guide!
Winterizing the ice maker in your RV is the best thing you can do in freezing temperatures. Fortunately, the task is simple once you know the correct procedures and have the proper tools. Here is the short answer.
First, turn off the water supply line to your RV ice maker. Then you have to turn off the water inlet valve. After that, you should drain the water from the line. Next, put RV antifreeze on the ice maker.
Once you know the steps in-detailed, you are supposed to perform the RV ice maker winterization within a short period of time.

Essential Tools and Supplies for Winterizing an RV Ice Maker
There are multiple ways you can winterize your RV ice makers. And based on your choice, the tools required to perform the job vary. Here are some essential tools you should use in order to complete the task.
- Air compressor
- RV antifreeze
- A bucket or container
- Wrench/Pliers
- Towels
How to Winterize an RV Ice Maker?
So, hopefully, you have access to the proper tools required to perform the task. Now it’s time to know the steps you should follow.
Step 01: Turn off the Water Supply Line to Your RV Ice Maker
When working with your RV ice maker, you need to make sure the water supply line is turned off.
And you need to do this in order to find a lot of ease while winterizing your RV ice maker and avoid short circuits.
You will find the ice maker water supply line behind the refrigerator. And there is a water supply valve.
You just need to shut off the water supply valve to turn off the water supply to the ice maker. It is also important to disconnect the ice maker’s water line from the valve.
Read Also: Why RV Water Pump Not Working When Winterizing? (Solved)
Step 02: Remove the Ice Bucket From the Ice Maker
Now remove the ice bucket from the ice maker, you should remove it before accessing it. In order to perform the task, you need to unscrew the ice maker and gently pull it toward you.
Step 03: Clean the Ice Maker With a Towel
Water or ice should not be inside the ice maker while winterizing it. So, you need to use a towel in order to absorb the water inside and clean the ice maker.
Step 04: Blow Compressed Air
Remember we ask you to disconnect the ice maker’s water line in step one? Now you have to take a little portable onboard compressor to blow the air through the waterline of your ice maker.
And this is important in order to flush the water line to drain out water. However, you have to ensure the air compression pressure doesn’t go beyond 50 lbs. Here, you need to place a container at the end of the water line.
Read Also: Blowing Out RV Water Lines vs Antifreeze: What is Effective?
Step 05: Pour Some RV Antifreeze Through the Water Line
Look, this is not mandatory. If using the compressed air can flush the water from the ice maker, you don’t need the antifreeze. But if you have to use it, make sure you go with the antifreeze, especially for RV.
You need to use a funnel to pour the antifreeze into the ice maker. After pouring the antifreeze, thoroughly drain it from the water line.
Step 06: Cover the Ice Maker
Once you make sure there is no water inside the ice maker and the water line, you have to cover the ice maker. You can do this using a towel, or you can use a protective plastic cover.
This will help the ice maker in keeping safe from corrosion. Keep your ice maker covered for a few hours.
Now you are all done winterizing your RV ice maker. Don’t forget to install the water supply line to the ice maker and then turn on the water supply.
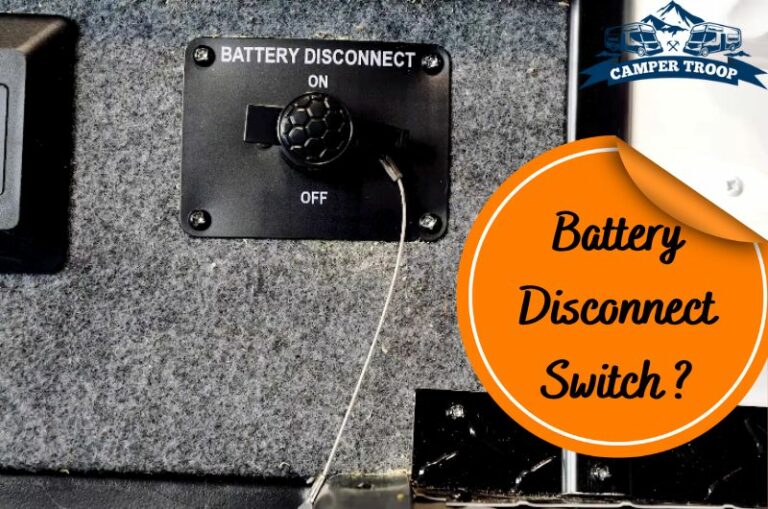
Read Also: RV Battery Disconnect Switch Problems: How to Fix Them!
Tips and Tricks for Properly Winterizing an RV Ice Maker
A few basic things you should keep in your consideration when it comes to winterizing your RV ice maker properly.
If you are not careful in this case, your hard work won’t pay off, and you might face issues with your RV ice maker in future.
- Don’t forget to turn off the water supply to the ice maker.
- Gently drain the water line.
- Make sure you don’t compress too much air to the water line.
- Choose the antifreeze specially made for RV ice maker winterization purposes.
- Don’t feel shy coming in touch with a technical person if you think you can’t do the job.
Read Also: RV 12-volt System Not Working When Plugged In: How to Fix?
Caring for Your RV Ice Maker Once Winterizing is Complete
Do not just take a deep breath after winterizing your RV ice maker. Instead, you should be very careful regarding the maintenance of the ice maker. Regular maintenance can help you make the most out of your RV ice maker for a long time.
- Check whether there are any leaks on the ice maker after winterization.
- Clean the ice maker of your RV regularly.
- Try to use the ice maker regularly.
- Contact a technician if your RV ice maker malfunctions after winterizing it.
Read Also: RV Converter Fan Turns On & Off Frequently | Here’s the Fix!
Frequently Asked Questions
RV owners have concerns when it comes to winterizing their RV ice makers. And that’s why they often share their queries online regarding the fact. We will answer some of them here.
What Causes Ice Build-Up in RV Freezers?
In most cases, excessive humidity can cause ice build-up in RV freezers. In addition, if the door seals of your RV freezer become faulty, it can also cause extreme ice build-up. Ice maker leaks often cause the issue as well.
What Happens If Water Freezes in RV?
The worst thing that can happen is the damage to the ice maker. Besides, chances are that the too much water inside the RV can cause restricted water flow in the water line along with pipe failures.
How Often Should an RV Ice Maker Be Winterized?
It depends on the water condition in your area. If there is always too much cold, you must winterize your RV ice maker frequently. So, check the condition of your RV ice maker regularly in winter and determine whether winterization is needed.
Final Words
Don’t take any random steps while winterizing your RV ice maker other than what we have mentioned.
Moreover, you can follow the recommendation of your RV ice maker manufacturer in this case. And if anything seems wrong, you should contact the technician ASAP.
Read Also: RV Battery Disconnect Switch Problems: How to Fix Them!

Zayan is an accomplished author and a go-to expert for all things RV and camper-related. With a passion for adventure and a knack for problem-solving, he has spent years exploring the open road and fine-tuning his knowledge of recreational vehicles.
Zayan’s writing is a testament to his expertise, offering readers practical solutions to common RV dilemmas. Whether it’s troubleshooting mechanical issues, optimizing space, or planning the perfect road trip, Zayan’s insightful advice and engaging storytelling make him an invaluable resource for both seasoned travelers and newcomers to the world of RVing.

![Most Common Grand Design RV Problems [Solutions Included]](https://campertroop.com/wp-content/uploads/2022/01/Grand-Design-RV-Problems-768x509.jpg)
