Why RV Water Pump Not Working When Winterizing? (Solved)
Even after collecting all essential tools needed and utilizing them thoroughly, is your RV water pump still not working when winterizing?
Possibly, you have made mistakes during the steps by not setting the water heater into its desired position that leads the RV water pump not working when winterizing. Plus, valves might not be appropriately positioned.
In that case, you must focus on the connections of the crucial plumbing components when winterizing, including the voltage, drain valve, and fuse panel. This might be your lucky day, as we will also share the most effective way to winterize your RV water system!
When and Why Should You Winterize Your RV Water Pump?
Without a doubt, winterizing your vehicle is crucial to keep your RV well-protected, especially when it is cold.
In fact, it becomes a necessity to do so, not just a recommendation if you are living around a state with frequent winter climates.
Moreover, freezing temperatures are likely to damage the unit of your vehicle permanently!
Like, chances are it will cause extensive loads around the water pump and plumbing areas. So you must winterize your RV to eliminate future inconveniences.
Why Does the RV Water Pump Not Work After Winterizing?
Winterizing isn’t child’s play! In fact, it requires you to perform a couple of tricky jobs like disconnecting the RV, closing the valves, bypassing the water heater, and running the antifreeze.
So in case you make any mistakes during the steps, chances are the water pump will not work after the winterization.
In addition to those, these might be the following reasons why your RV water pump does not work after winterizing:
- Perhaps you have not set the RV water heater into the correct position while bypassing.
- You might not have left the drains’ low paint close.
- Probably the positioning of the different valves was not appropriate.
- Possibly, you have not reconnected the crucial components of the water pump after the winterization.
Read Also: How to Find Water Pump Location on Your Forest River RV?
What If the Water Pump Is Not Working When Winterizing?
Once you complete winterizing your RV, you may end up with some problems with the water pump.
This is because while winterizing, RVers need to break the connection of a few crucial components, which indeed let the pump work.
So considering the following aspects is necessary to make sure whether the water pump will work smoothly or not after winterizing –
- First, confirm that you have reconnected everything properly after utilizing the RV antifreeze.
- Check the drain valve twice to make sure you left it open.
- Have a look at the shut-off valves to see whether they are closed or open.
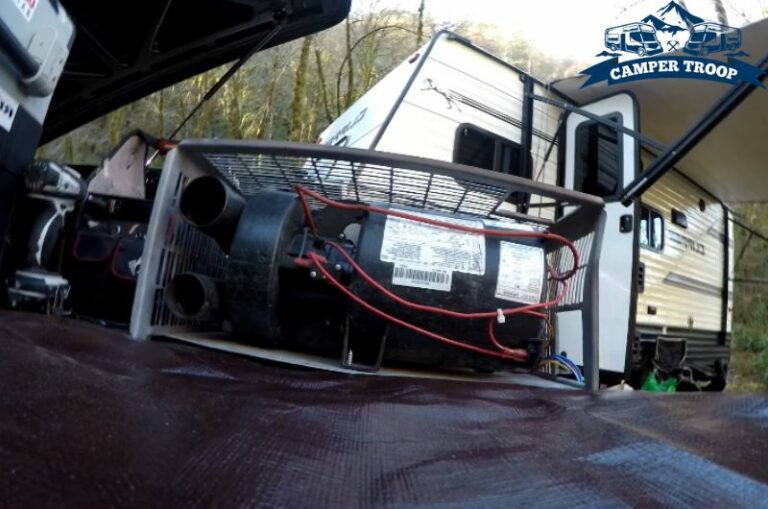
- If possible, take assistance from a multimeter tester to detect the actual voltage of the water pump. If it contains 12V, check twice to ensure you have grounded the water pump.
- Consider observing the fuse panel, and if you find the water pump silent, find out whether the electricity is available or not.
- Last but certainly not least, make sure your RV is getting power.
Read Also: Forest River Water Pump Not Working: Reasons And Solutions
How to Winterize a Water Pump Properly?
As you are already familiar with the necessity of winterizing, it is a must to learn how to do so in the best way possible.
Because if you do it for the first time without following the proper technique, there is a chance that any of the essential components of your RV will get defective.
So let us walk you through the steps after collecting the following things:
Things Needed:
- Common hand tools to install and remove drain plugs
- RV antifreeze that is anti-toxic
- Water heater
- Wand to eliminate black water
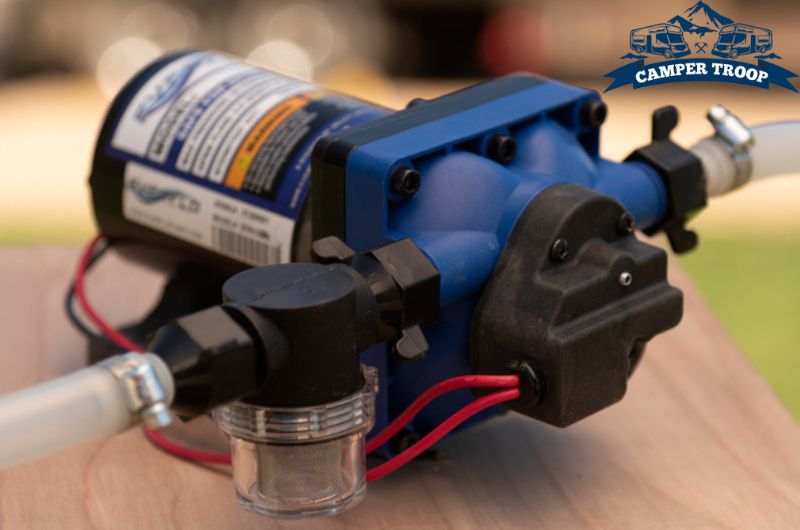
- A converter kit for the water pump
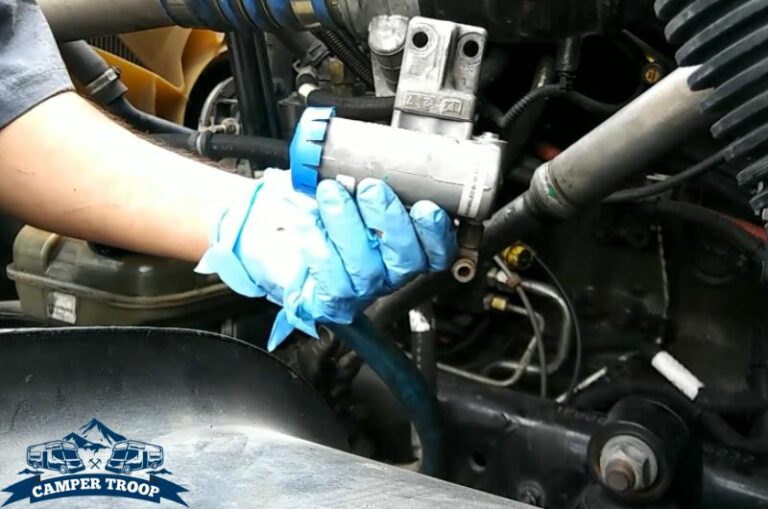
Step 01: Draining the Water System
Before you begin draining, make sure to bypass and take off any existing inline water filters. In order to drain, start gradually from the fresh and then the black & gray water-holding tanks. Some RV models may not come up with a flushing system.
In that case, DDRV suggests cleaning up the black tank using a wand. Next, get into draining the water heater and uncovering the valve. Take the drain plug off without any rush.
N.B: While under pressure or hot, you should not attempt to drain the water heater. Rather, open the faucet of the water heater to eliminate the existing pressure from the system. Before draining, let the tank get cold.
Read Also: When To Use The Check Valve, Before Or After Pump? Find Out!
Step 02: Opening Every Faucet
As the title suggests, you need to open every cold and hot faucet of your RV, including the toilet valve.
If you are not well aware of the location of the water drain lines, make sure to find it out in terms of opening the low point.
Getting the water out of the system is mandatory by force. In order to keep the pump out of damage, you must switch it off right after draining. Recap every drain and get every faucet closed when you are done.
Step 03: Bypassing Water Heater
From different forums, we found a couple of reasons behind bypassing the water heater. And one of them is to keep the antifreeze away from getting wasted.
It is okay for your RV not to have an included bypass kit. In that case, feel free to spend extra bucks for buying a bypass kit from the nearest store.
Let’s get into installing a converter kit designed for the water pump. Alternatively, you can break the connection of the water pump’s inlet to attach a tubing between the inlet and the RV antifreeze.
Read Also: How to Winterize an RV Ice Maker? Step-by-step Guide!
Step 04: Running the RV Antifreeze
In order to pressurize the water system, switch on the water pump right away. Do not hesitate to run the antifreeze in terms of winterizing the RV. Experts prefer beginning with the shower heads for being the highest point.
Begin with the one that is nearer to the water pump. And switch the hot & cold valves on till you notice the appearance of the bright pink-colored RV antifreeze.
Ensure to perform the same step for toilets, hoses, and sinks. And the same goes for the outside sinks, hoses, and showers as well. This step can take around two to three gal. antifreeze, which indeed depends on the water system of your RV.
Step 05: Adding Antifreeze to Several Places
Let’s start pouring a little amount of antifreeze into every drain. Then, target the RV’s toilet for pouring a couple of ounces.
Afterward, do a flush so that there will not be any existing water for future freezing.
Get your hands on the water heater to switch it off, especially if it consists of a heating element. Thus, you can keep the stuff well-protected, even if it was plugged in. Also, confirm that every faucet is not open.
Some RVers prefer adding a slight amount of antifreeze into the water inlet. Because it will keep the valve protected.
And do not forget to read the user manual. This can guide you through winterizing other crucial components, including the washing machine, ice maker, and so forth!
Read Also: RV Converter Fan Turns On & Off Frequently | Here’s the Fix!
FAQs
As winterizing is considered a tricky job, especially for non-professional RVers, you might have more queries regarding it. If so, then go through the given frequently asked questions with quick answers:
Can you winterize the RV without antifreeze?
In some specific situations, you are allowed to winterize the RV without using an antifreeze. For instance, if you want to save money from winterizing several times a year or the pump is broken, you can try winterizing without antifreeze.
What is the required air pressure to winterize the RV?
35-50 psi is considered the ideal range of air volume needed to winterize your RV successfully. If you try to increase the range, chances are it will ruin the plumbing.
Can you incorporate RV antifreeze in the freshwater tank?
Compared to automotive antifreeze, RV antifreeze is relatively safe. In fact, it is considered non-toxic to human beings, making it safe to incorporate on plumbing lines and the water system of the RV freshwater.
Conclusion
For optimal winterizing, you must choose the right antifreeze that can meet your preferences.
And getting familiar with every RV water pump component, including plumbing ideas, is the key to completing the winterization successfully.
We’d prefer wiping down each tub, sink, and shower after winterization. Because antifreeze may stain, so you better eliminate the existing residue from the basins.
Read Also: RV Battery Disconnect Switch Problems: How to Fix Them!

Zayan is an accomplished author and a go-to expert for all things RV and camper-related. With a passion for adventure and a knack for problem-solving, he has spent years exploring the open road and fine-tuning his knowledge of recreational vehicles.
Zayan’s writing is a testament to his expertise, offering readers practical solutions to common RV dilemmas. Whether it’s troubleshooting mechanical issues, optimizing space, or planning the perfect road trip, Zayan’s insightful advice and engaging storytelling make him an invaluable resource for both seasoned travelers and newcomers to the world of RVing.
![5 Common Micro Air Easy Start Problems [Solutions Included]](https://campertroop.com/wp-content/uploads/2022/12/Micro-Air-Easy-Start-Problems-768x509.jpg)