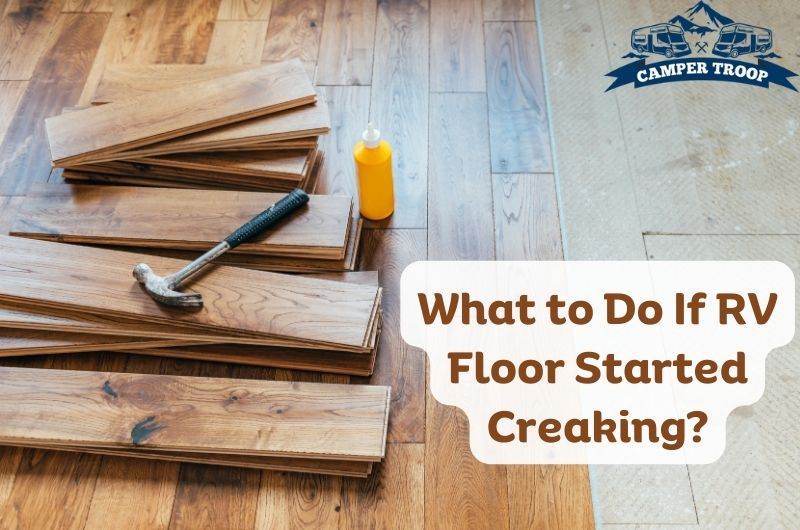
What to Do If Your RV Floor Started Creaking (Prevent Now)
When your RV floor creaks, you have 2 choices: learn to live with it and solve the problem. Undoubtedly, you will want to fix the camper floor creaking. The reason is unattended creaks can lead to bigger problems. So, what to do if your RV floor started creaking?
Thankfully, repairing squeaky RV floors is straightforward with simple techniques. You will need to fix the issue from below and above the trailer floor.
Here is an in-detail guide for you. Read it intently.
What is Responsible for RV Floor Squeaks?
It would always be best to identify the root cause before preceding the fixation process. Find out the causes for trailer floor squeaks from the below points.
- Floorboards usually stay tight with the help of nails or staples. You will hear a squeaky noise when these items fail to hold the boards tight.
- Generally, RV floors consist of more than one floorboard. If these boards rub each other, creaky noise will be created. Sometimes, they rub against other components like studs and cause a squeaky sound.
- When bowed or imbalanced joists rub against the subfloor, your RV floor will create a disturbing creaky sound.
You may already understand that stopping the friction will help you eliminate the creaks. It means you have to prevent any of the components from moving.
What to do if Your RV Floor Started Creaking?
This project requires several tools and supplies. Gather the below supplies before start working.
- Utility knife
- Painter’s tape
- Humidifier
- Cordless drill
- Vacuum
- Rags or cloths
- Fine-grit sandpaper
- Hammer
- Soft brush
- Nail Set
- Construction adhesive
- Screws (1”)
- Finish nails (1”)
- Boards
- Wood glue
- Powdered graphite
- Wood shims
- Wood filler
- Nails
- RV Lifter
Read Also: How To Maintain TPO RV Roof? [Complete Guide]
Repairing RV Creaks from Below
You have to get access to your trailer. This way, the repair will be easier and invisible.
Step 01: Identify the Creak
Tell someone to step into the trailer’s creaky area when trying to fix the issue from below. Use painter’s tape to mark the spot.
Step 02: Floorboard Shimming
Tap a wood shim between the subfloor or floorboard and the joist. Check whether it fixes the problem. If yes, the shim needs to be removed. Apply wood glue to coat the area and re-insert the shim. Force the shim as far as you can to eliminate creaks.
Step 03: Pull Flooring Layers Together
In this step, you will require a product named creak-ender. The responsibility of this product helps you to pull flooring layers together. This way, bowing effects can easily be minimized, which might happen due to shims. At the same time, it brings the layer to its true shape effectively.
Read Also: 6 Easy Solutions For RV Slide-Out Motor Problems
Step 04: Floorboard Sistering
If the floorboards are twisted, bent, or malformed, you can cure the joist by sistering a 2 X 4 board with the joist. Remember to butt up the board against the floorboards or subfloor.
Step 05: Apply Glue to the Floor
Grab the construction adhesive and run a long bead in the seam between the subfloor or floorboards and the joists.
Step 06: Add Lateral Control
Many of us don’t pay importance to lateral control. But it is significantly crucial as vertical control. Check whether your joists lack blocking. If YES, cut a 2 X 8 board and place it between the midpoints of the joists. Then tap them into position and use hammer nails into the joists. Lateral control is also beneficial if your RV current blocks are not performing appropriately.
Read Also: Troubleshooting RV Slide Goes Out But Not In (8 Reasons)
Repairing RV Creaks from Above
Accessing the RV from the below may not be possible every time. In this case, should you get familiar with the creaks? Definitely, there are other solutions available to the problem. The good news is you can repair RV creaks from above the floor.
Follow the below steps meticulously.
Step 01: Apply Powdered Graphite
What material is used in your RV floor? The creaks might be happening for engineered wood or solid hardwood because of the rub between the boards. Apply powdered graphite between the boards. Also, rub the powdered graphite lightly onto the seams using a soft cloth or brush. Then the excess needs to be vacuumed.
Read Also: Why Bottom of Slide Bowing Out in My RV & How to Fix it?
Step 02: Add a Humidifier to the RV
When the humidity level decreases, the wood floor dries out and causes creaking. Install a humidifier in the RV. This device will increase the humidity level gently. This way, you will stop hearing the creaky sound in your camper.
Step 03: Refastening the Subfloor
Get access to the subfloor by pulling back the floor covering.
Next, find out the joists. Then grab a 1” screw and drive it through the subfloor. Bear in mind the screw needs to be fastened near the problematic area.
Sometimes, you can use screws or nails longer than 1”. However, the safest option is to use one-inch nails or screws because 1” screws don’t generally damage the pipes or electrical wires that run below the trailer.
If you can’t pull back the carpet, no worries, as there are solutions. Use a utility knife to cut and get access to the creaky area. Then put a 1” screw into the joist. Make sure the screw is completely fastened on the floor.
Read Also: RV Compartment Door Won’t Open | What to Do?
FAQs
Can a creaky RV floor be dangerous?
A creaky RV floor can be dangerous if caused by structural damage or a weakening of the floor’s support system. If left unaddressed, this type of damage can lead to a no longer stable or secure floor. Also, it increases the risk of accidents or injuries while inside the RV.
What are the most common causes of a creaky RV floor?
There are several potential causes of a creaky RV floor, including,
- Regular wear and tear
- Moisture damage
- Subfloor damage
- Loose components
- Plumbing or electrical issues
It is important to identify the cause of the creaking to address it and properly prevent further damage to the RV.
How much does it cost to repair a creaky RV floor?
The cost to repair a creaky RV floor can vary depending on the extent of the damage and the specific repairs needed. Generally, minor repairs such as tightening loose connections or replacing damaged subflooring may cost $1,000.
How often should I inspect my creaky RV floor for signs of wear and tear?
Inspecting your RV floor regularly is a good idea, even if it is not currently creaking. You should inspect your RV floor at least once per year. If you use your RV frequently or in harsh conditions, such as extreme temperatures or wet environments, inspect more frequently.
During these inspections, look for signs of damage or wear, such as cracks, soft spots, or discoloration, as well as any unusual sounds or movement when walking on the floor.
Final Words
If your RV floor is creaking, it is important to take action to identify and address the underlying cause of the problem.
While creaking may seem like a minor annoyance, it can be a sign of more serious structural issues or damage that can compromise the safety and integrity of your RV.
You can prevent creaking by inspecting your RV floor regularly and addressing any signs of wear or damage promptly. It ensures that your RV is safe and secure for use.
If you are unsure of what to do if your RV floor started creaking, it is recommended to consult with a qualified professional. They can help diagnose and repair the issue to ensure your RV is in top condition.
Read Also: 6 Reasons Why an Awning Window Won’t Close All The Way

Zayan is an accomplished author and a go-to expert for all things RV and camper-related. With a passion for adventure and a knack for problem-solving, he has spent years exploring the open road and fine-tuning his knowledge of recreational vehicles.
Zayan’s writing is a testament to his expertise, offering readers practical solutions to common RV dilemmas. Whether it’s troubleshooting mechanical issues, optimizing space, or planning the perfect road trip, Zayan’s insightful advice and engaging storytelling make him an invaluable resource for both seasoned travelers and newcomers to the world of RVing.